A tourniquet is a medical device used to control severe, life-threatening bleeding from an arm or leg by compressing blood vessels and stopping blood flow to a wound. Tourniquets have saved countless lives on battlefields, in workplaces, and during everyday emergencies. Whether you are a workplace safety officer, a first responder, or a concerned parent, understanding how to use a tourniquet correctly could mean the difference between life and death in a critical moment.
Browse Response Ready’s bleeding control kits with tourniquets and trauma supplies. Call 858-665-2025 for help choosing the right kit for your workplace or facility.
Every year, thousands of people die from preventable blood loss caused by traumatic injuries. Car accidents, workplace incidents, power tool mishaps, and even deep kitchen cuts can cause arterial bleeding that becomes fatal in minutes. A tourniquet applied quickly and correctly can buy precious time until emergency medical services arrive. This guide covers everything you need to know about tourniquets: what they are, the different types available, when and how to apply one, common mistakes to avoid, and answers to frequently asked questions.
What Is a Tourniquet and How Does It Work?
A tourniquet is a constricting band or device that wraps around an arm or a leg and tightens to compress the underlying blood vessels. This compression stops arterial blood flow to the area below the tourniquet, which stops or significantly reduces bleeding from a wound on that limb. Modern emergency tourniquets use a windlass mechanism, a rod that twists to tighten the band far beyond what hand strength alone could achieve.
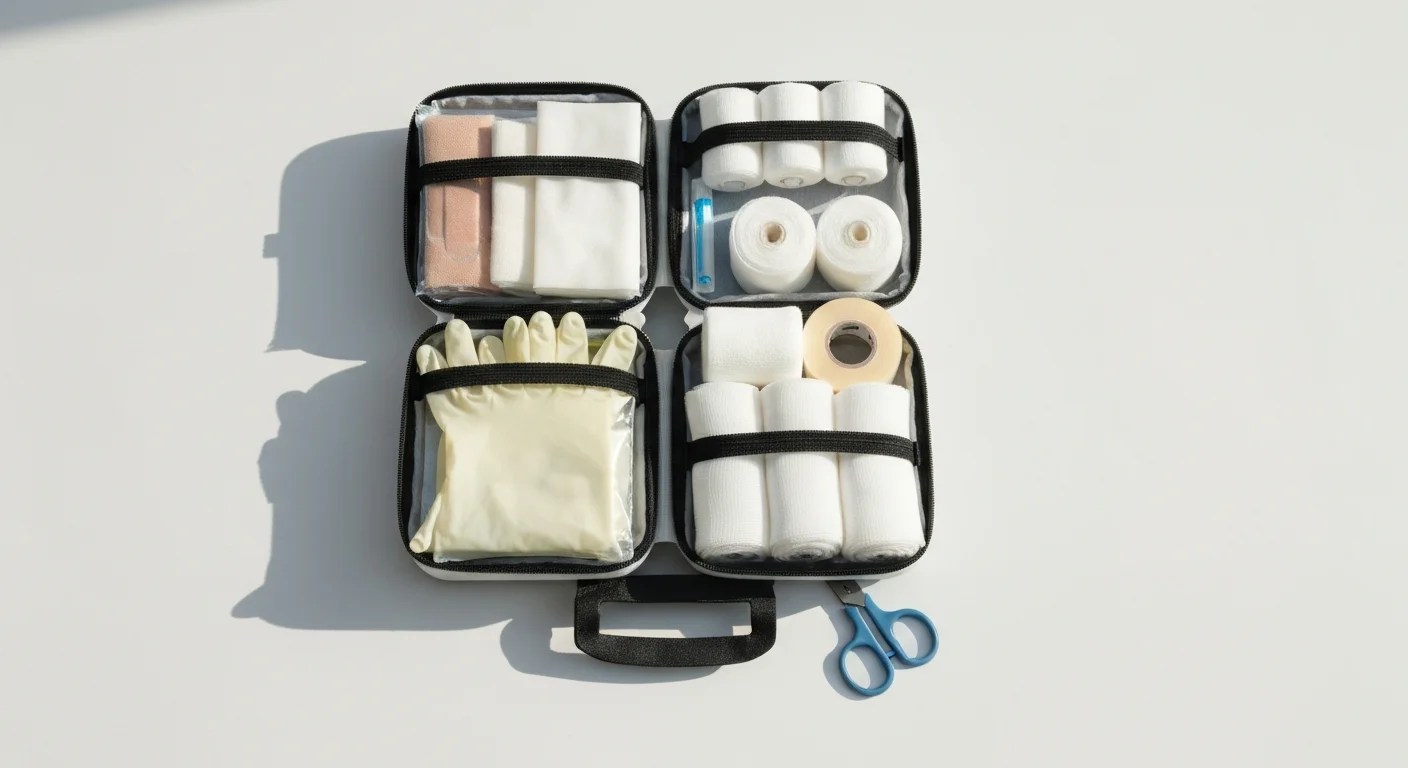
Tourniquets are found inside most bleeding control kits and trauma kits sold today. Organizations like the American College of Surgeons and the Department of Homeland Security recommend that tourniquets be available in workplaces, schools, and public spaces as part of the national Stop the Bleed initiative.
What Are the Different Types of Tourniquets?
Emergency tourniquets come in several designs, but three types dominate the market. Each type uses a windlass mechanism to apply pressure, but they differ in construction, ease of use, and specific features. Understanding the differences helps you choose the right tourniquet for your needs.
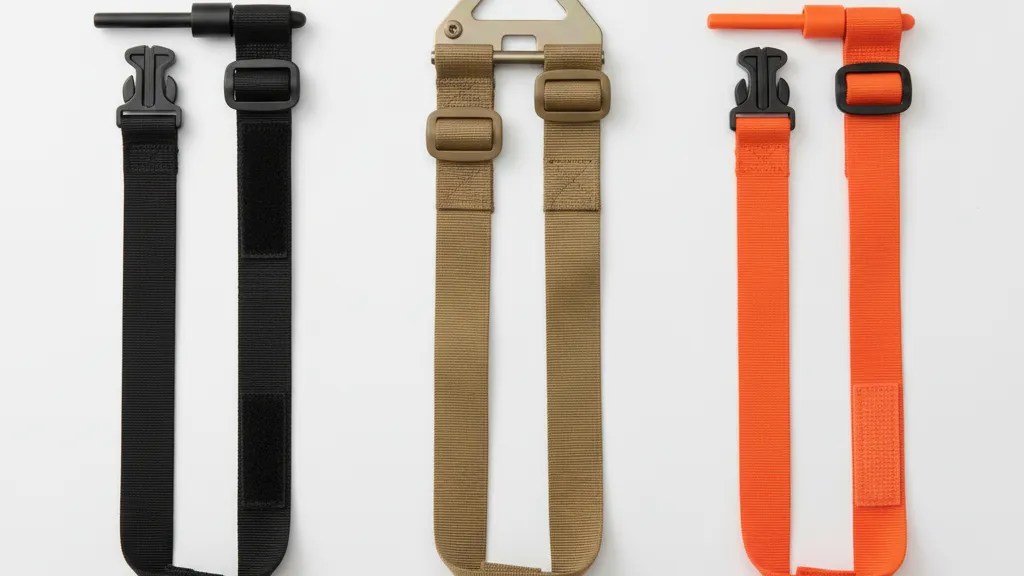
What Is a CAT Tourniquet?
The CAT tourniquet is the most widely recognized emergency tourniquet in the world. Developed by the U.S. military, the CAT (Combat Application Tourniquet) uses a self-adhering band, a friction buckle, and an aluminum windlass rod. It is designed so that a person can apply it with one hand, making it effective even when the user is the one injured. The CAT tourniquet is the standard issue tourniquet for the U.S. Armed Forces and is recommended by the Committee on Tactical Combat Casualty Care (CoTCCC).
SOF-T Wide Tourniquet
The SOF-T Wide (Special Operations Forces Tactical Tourniquet Wide) uses a wider strap and a metal windlass rod made from aircraft-grade aluminum. The wider strap distributes pressure across a larger area of the limb, which some users find less painful during application. It is another CoTCCC-recommended tourniquet used by military and law enforcement personnel across the United States.
Other Windlass-Style Tourniquets
Other CoTCCC-approved tourniquets include the SAM XT Extremity Tourniquet, which uses a patented autostop buckle that clicks when adequate pressure is reached, and the SWAT-T (Stretch, Wrap, And Tuck Tourniquet), an elastic wrap often included in compact trauma kits.
| Tourniquet Type | Key Feature | Best For | One-Hand Use |
|---|---|---|---|
| CAT (Combat Application Tourniquet) | Self-adhering band with friction buckle | Military, law enforcement, general public | Yes |
| SOF-T Wide | Wide strap, metal windlass and buckle | Law enforcement, tactical medics | Yes |
| SAM XT Extremity Tourniquet | Autostop buckle clicks at correct pressure | Workplaces, schools, public access kits | Yes |
| SWAT-T (Elastic) | Elastic wrap, compact and lightweight | Compact kits, backup tourniquet | No (two hands preferred) |
When Should You Use a Tourniquet?
A tourniquet should be used when a person has severe, life-threatening bleeding from an arm or leg that cannot be controlled with direct pressure alone. The key indicators are bright red blood that spurts or pulses from a wound (arterial bleeding), blood that pools rapidly on the ground, or a situation where a limb has been partially or fully amputated.
Specific situations where tourniquet use is appropriate include:
- Deep lacerations from machinery or power tools that sever arteries in the arms or legs
- Motor vehicle accidents with traumatic limb injuries or entrapment
- Accidental amputations in industrial or construction settings
- Severe animal bites that cause deep tissue and vascular damage
- Active shooter or mass casualty events where multiple victims need rapid bleeding control
- Falls from height resulting in compound fractures with exposed bone and arterial bleeding
Explore Response Ready’s Bleeding Control Kit Premium, which includes a CoTCCC-approved tourniquet, hemostatic gauze, compression bandage, gloves, and shears.
A tourniquet is not for minor cuts or scrapes. It is a last-resort tool for severe bleeding emergencies. The general rule taught in Stop the Bleed training courses is simple: if the bleeding is severe and direct pressure is not working, apply a tourniquet.
How to Apply a Tourniquet: Step-by-Step Instructions
Applying a tourniquet correctly takes practice, but the basic steps are straightforward. The following instructions apply to windlass-style tourniquets like the CAT tourniquet or SOF-T Wide, which are the most common types found in bleeding control kits.
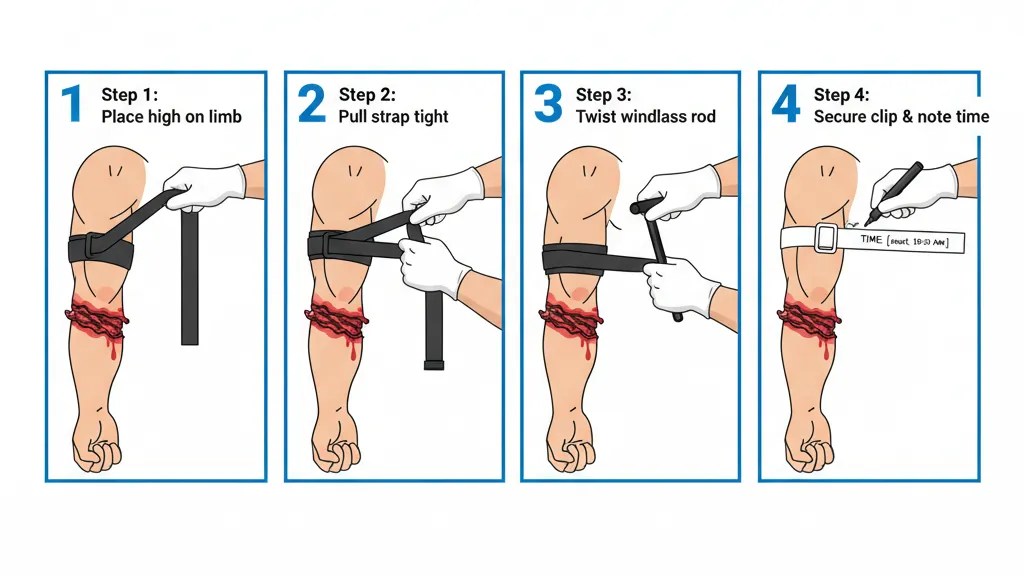
- Call 911 first. Before applying a tourniquet, call emergency services or ask someone nearby to call. Professional medical help is still essential.
- Place the tourniquet high and tight. Position the tourniquet 2 to 3 inches above the wound, between the wound and the heart. If you cannot identify the exact wound location, place the tourniquet as high on the limb as possible.
- Pull the strap tight. Thread the strap through the buckle and pull it as tight as you can by hand. Eliminate any slack.
- Twist the windlass rod. Turn the windlass rod in a clockwise direction. Keep twisting until the bleeding stops completely. This will be painful for the patient, but do not stop until the bleeding has stopped.
- Secure the windlass. Lock the windlass rod into the clip or retention strap so it does not unwind. An unsecured windlass will loosen and bleeding will resume.
- Note the time. Write the time of application on the tourniquet strap, on the patient’s skin, or on tape. Use the letter “T” followed by the time (for example, T 14:30). This information is critical for the medical team.
Important: Once a tourniquet is applied, do not remove it. Only trained medical professionals at a hospital should remove a tourniquet. Premature removal can cause sudden blood loss and other dangerous complications.
Where Should You Place a Tourniquet?
Tourniquet placement follows a simple rule: place it high on the injured limb, between the wound and the heart. For arm injuries, place the tourniquet on the upper arm. For leg injuries, place it on the upper thigh. The general guideline taught by Stop the Bleed instructors is “high and tight,” meaning as high on the limb as practical and as tight as needed to stop the bleeding.
Key placement rules:
- Never place a tourniquet directly over a joint (elbow, knee, wrist, ankle). The tourniquet cannot compress effectively over a joint.
- Do not place a tourniquet over a wound. Place it above the wound so it compresses the blood vessels feeding the injured area.
- If the first tourniquet does not stop the bleeding, apply a second tourniquet directly above the first one. Two tourniquets may be needed for large or muscular limbs, especially upper thighs.
- Place tourniquets on bare skin when possible. Thin clothing is acceptable, but remove bulky clothing from under the tourniquet that could prevent proper compression.
Common Tourniquet Mistakes to Avoid
Even with basic training, people make mistakes during the stress of an emergency. Knowing the most common errors in advance can help you avoid them when it matters most.
- Not tightening the tourniquet enough. This is the most common mistake. A tourniquet that is too loose can actually increase bleeding by blocking venous return without stopping arterial flow. The tourniquet must be tight enough to stop ALL blood flow past the device.
- Placing the tourniquet too low. Placing it close to the wound or over a joint reduces effectiveness. Always aim for high placement on the upper arm or upper thigh.
- Removing the tourniquet too soon. Once applied, only a hospital medical team should remove it. Premature removal can cause sudden blood loss or cardiac arrest.
- Forgetting to note the time. The medical team needs to know how long the tourniquet has been on. Always write the time on the strap or on the patient’s skin.
- Hesitating to apply it. Many bystanders delay because they fear causing harm. The risk of not applying a tourniquet when needed far outweighs the risk of applying one.
How Long Can a Tourniquet Stay On?
A tourniquet can safely remain in place for up to two hours in most cases. Military research and clinical studies have shown that properly applied tourniquets left in place for less than two hours rarely cause permanent damage. Beyond two hours, the risk of tissue damage and nerve injury increases, but even extended application is preferable to uncontrolled bleeding and death.
For civilian emergencies, EMS response times average 7 to 10 minutes in urban areas and up to 30 minutes in rural areas. Most tourniquet applications will last well under the two-hour window. Never remove a tourniquet because you think it has been on too long. Leave that decision to the medical team at the hospital.
Shop bleeding control kits from Response Ready and make sure your workplace, school, or home has the tools to handle a severe bleeding emergency. Free shipping on orders over $99. Call 858-665-2025 with any questions.
Why Every Workplace and School Needs a Tourniquet
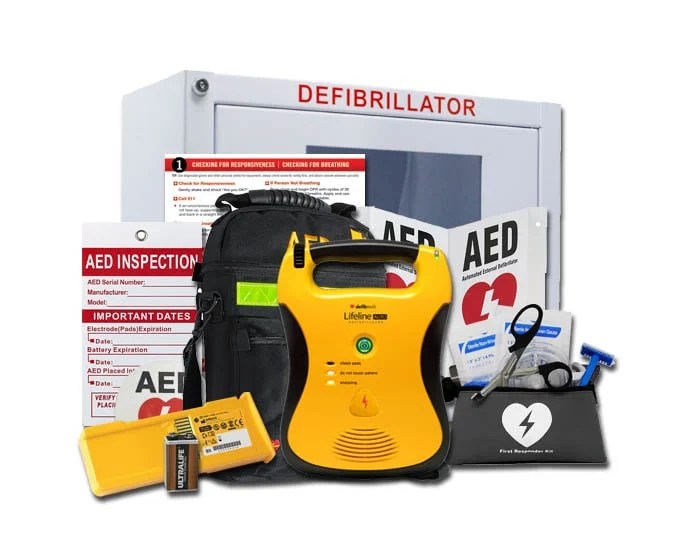
Uncontrolled bleeding is the leading cause of preventable death after a traumatic injury, according to the American College of Surgeons. A person with a severed artery can bleed to death in as little as two to three minutes, which is faster than any ambulance can arrive. This is why the national Stop the Bleed campaign calls for bleeding control kits with tourniquets to be placed alongside AEDs in workplaces, schools, and public venues.
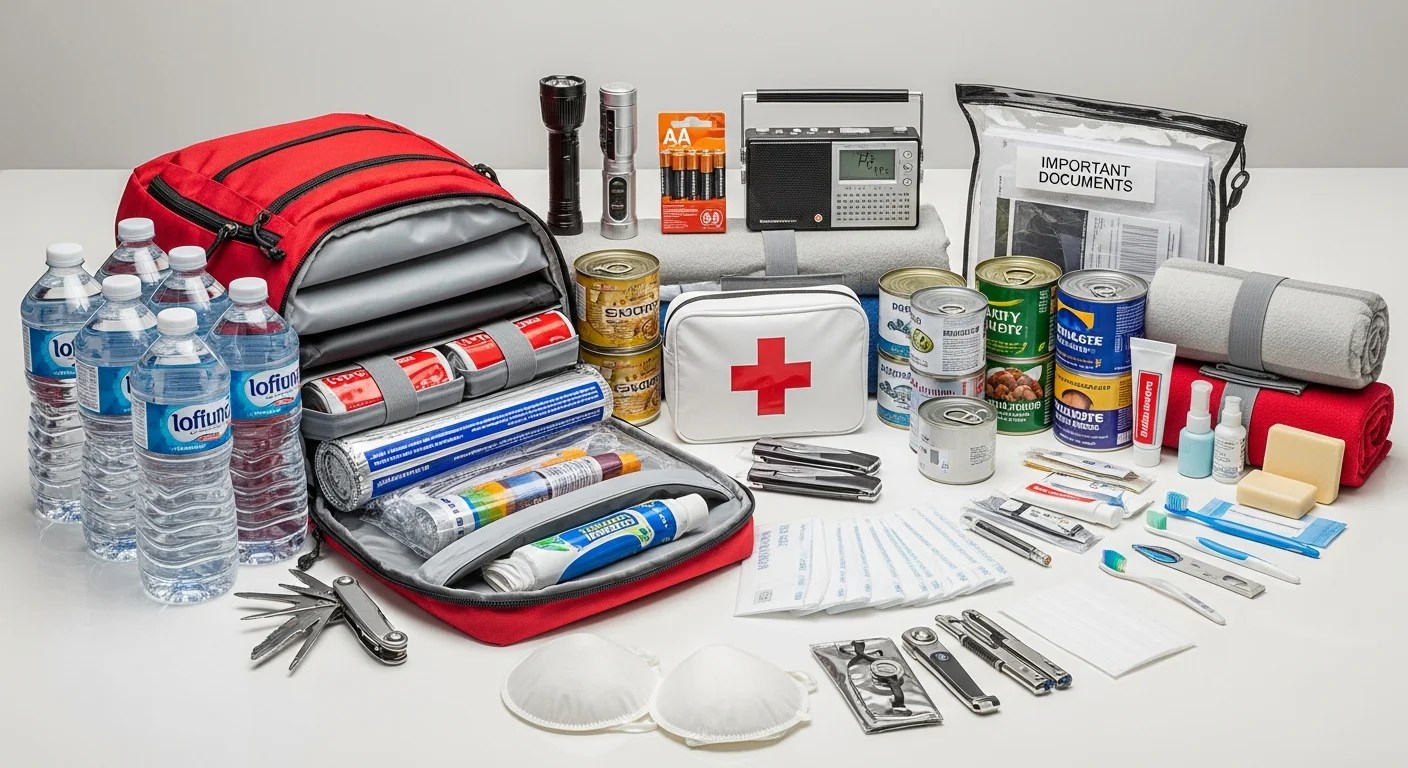
Many school districts, corporate offices, gyms, and houses of worship are adding bleeding control kits to their emergency preparedness plans alongside AED machines and first aid kits. Having the right equipment and basic training in tourniquet application can empower anyone to save a life.
Frequently Asked Questions About Tourniquets
Can a tourniquet cause permanent damage to a limb?
When applied correctly and removed within two hours at a hospital, tourniquets rarely cause permanent limb damage. Military studies of thousands of tourniquet applications show that nerve and tissue complications are uncommon with proper use. The risk of death from uncontrolled bleeding far exceeds the risk of complications from a correctly applied tourniquet.
Should I use a belt or improvised tourniquet in an emergency?
Improvised tourniquets made from belts, ties, or torn clothing are far less effective than purpose-built tourniquets. They often fail to generate enough pressure to stop arterial bleeding. If a commercial tourniquet is available, always use it. Improvised options should only be a last resort.
Do I need training to use a tourniquet?
While anyone can use a tourniquet in an emergency, training significantly improves speed and effectiveness. The national Stop the Bleed course teaches tourniquet application, wound packing, and direct pressure techniques in about two hours. Response Ready offers Stop the Bleed training courses nationwide through its CPR1 training network.
Where should I keep a tourniquet?
Keep a tourniquet inside a bleeding control kit in any location where injuries could occur: workplaces, schools, gyms, vehicles, and homes. Mount the kit in a visible, accessible location near existing first aid supplies or AED stations.
What is the difference between a CAT tourniquet and a SOF-T tourniquet?
The CAT (Combat Application Tourniquet) uses a self-adhering band with a friction buckle, while the SOF-T Wide uses a wider strap with a metal buckle. Both are approved by the Committee on Tactical Combat Casualty Care and are effective for stopping severe bleeding. The CAT is most widely used in civilian settings, while the SOF-T Wide is popular with law enforcement and tactical medics.
Can I apply a tourniquet to myself?
Yes. Both the CAT tourniquet and the SOF-T Wide are designed for self-application with one hand. Practice self-application during training so you build the muscle memory needed to do it under stress.