What Is the Stop the Bleed Program?
Uncontrolled bleeding is the number one cause of preventable death from trauma in the United States. A person suffering from a severe wound can bleed to death in as little as two to three minutes, often well before emergency medical services can arrive. Recognizing this critical gap, the American College of Surgeons launched the Stop the Bleed program in 2015 as a national awareness campaign to train and empower everyday people to help in a bleeding emergency.
Browse Response Ready’s complete line of bleeding control kits to make sure you have the right tools before an emergency happens.
The idea is straightforward: just as CPR and AEDs have made cardiac arrest survivable for bystanders, basic bleeding control techniques can save lives when traumatic injuries occur. The Stop the Bleed initiative teaches ordinary people how to recognize life-threatening bleeding and take immediate action using three core techniques: applying direct pressure, packing a wound, and using a tourniquet. Whether the emergency is a car accident, a workplace injury, or an incident at school, a trained bystander with the right tools can be the difference between life and death.
How to Recognize Life-Threatening Bleeding
Before you can stop severe bleeding, you need to know what it looks like. Not every cut or scrape requires emergency intervention. Life-threatening bleeding is different from a minor wound, and learning to tell the difference is the first step in being prepared to act.
Look for these warning signs:
- Blood that is spurting or pulsing from the wound. This indicates arterial bleeding and is the most dangerous type. Blood loss is rapid and the situation is immediately critical.
- Blood that won’t stop flowing despite steady pressure. If blood soaks through a cloth or bandage within minutes, the bleeding is severe.
- A pool of blood on the ground near the injured person. Even if you don’t see the wound clearly, a large or growing pool of blood signals a serious injury.
- Clothing that is soaked with blood. Saturated clothing, especially on the torso or thighs, often means a deep wound underneath.
- A missing or partially severed limb. Amputations and partial amputations require immediate bleeding control.
If you see any of these signs, call 911 immediately and begin bleeding control while you wait for professional help. Time is working against you, and the steps below can keep the injured person alive until paramedics take over.
Step 1: Apply Direct Pressure
Direct pressure is the simplest and most important bleeding control technique. It works on nearly every type of wound and requires no special equipment. If you remember nothing else from this guide, remember this: push hard on the wound and do not let go.
How to do it:
- Put on gloves if available. Nitrile or latex gloves protect you from bloodborne pathogens. If you don’t have gloves, use a plastic bag or extra layers of cloth as a barrier.
- Find the source of the bleeding. Remove or cut away clothing to expose the wound so you can see exactly where the blood is coming from. Trauma shears, included in most bleeding control kits, make this fast and safe.
- Place a clean cloth, gauze, or dressing directly over the wound. Use whatever is available: a t-shirt, a towel, or gauze from a first aid kit.
- Press down firmly with both hands. Use your body weight to apply steady, hard pressure. Do not lift the dressing to check the wound, as this interrupts clot formation and restarts bleeding.
- Hold pressure continuously until help arrives. If blood soaks through the dressing, add more material on top. Never remove the original dressing.
Direct pressure works well for wounds on the torso, head, neck, and areas where a tourniquet cannot be used. For deep wounds or wounds on the arms and legs that don’t respond to pressure alone, you’ll need to escalate to wound packing or a tourniquet.
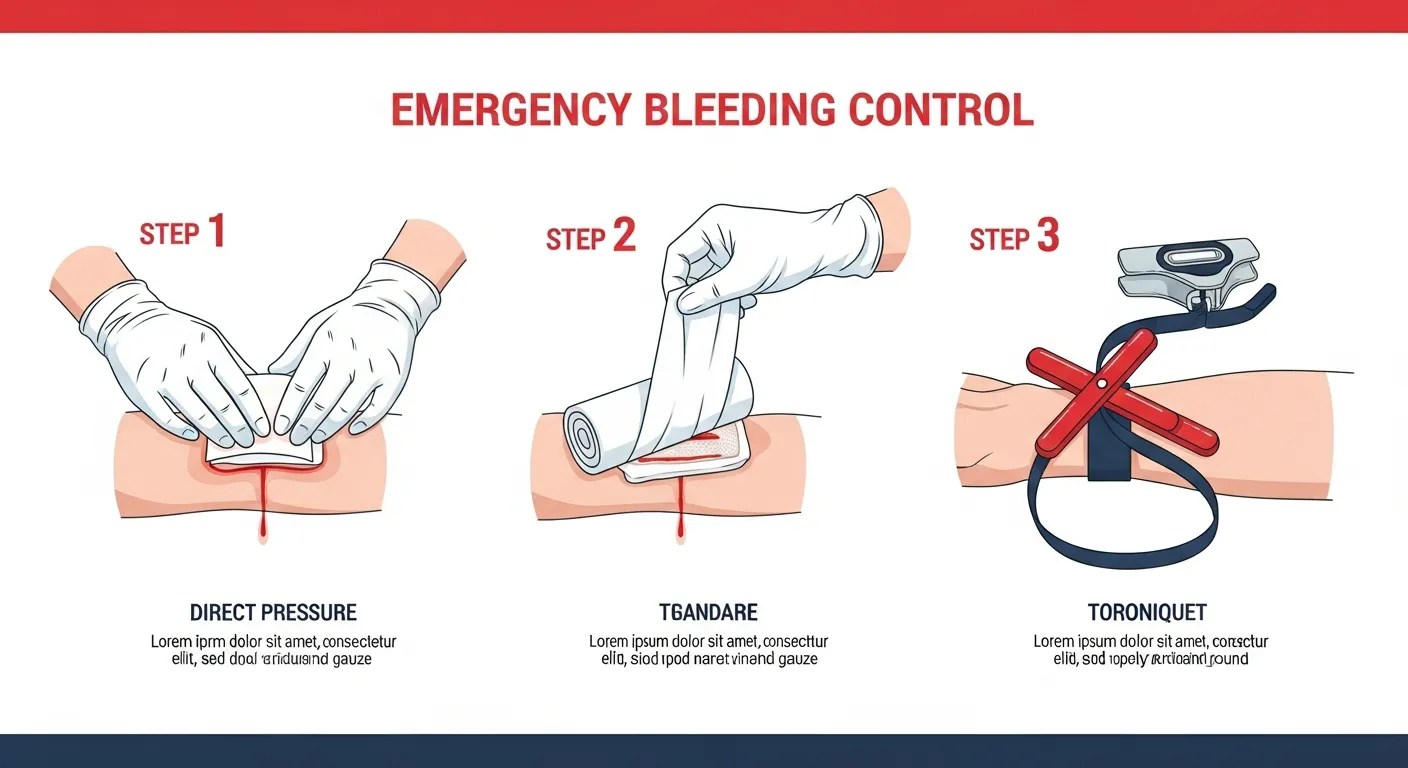
Step 2: Pack the Wound
Wound packing is used for deep wounds, especially in areas where direct pressure alone isn’t enough to control bleeding. This technique is most effective for injuries to the neck, shoulders, groin, and armpits, areas where a tourniquet can’t be placed but the wound cavity is deep enough that surface pressure won’t reach the bleeding vessel.
How to do it:
- Expose the wound completely. Use trauma shears to cut away clothing and clearly identify the wound.
- Pack gauze tightly into the wound cavity. If you have hemostatic gauze (gauze treated with a clotting agent), use that first. Hemostatic gauze is included in premium bleeding control kits and dramatically accelerates clot formation.
- Push the gauze deep into the wound. Use your fingers to feed the gauze into the wound, filling the entire cavity from the deepest point outward. This is not gentle work. You need to apply firm inward pressure to compress the damaged blood vessels.
- Continue packing until the wound is completely filled. Use as much gauze as needed to fill the cavity entirely.
- Apply direct pressure on top of the packed wound. Once packed, press down firmly with both hands and hold. If available, secure the packing with a compression bandage to maintain constant pressure.
Wound packing can feel uncomfortable or even painful for the injured person, but it is a lifesaving technique. The goal is to compress the damaged vessels from inside the wound, which stops blood flow much more effectively than surface pressure alone.
Sign up for Stop the Bleed training through Response Ready to practice these techniques with hands-on instruction from certified trainers.
Step 3: Apply a Tourniquet
A tourniquet is the fastest and most effective way to stop life-threatening bleeding from an arm or leg. For decades, tourniquets had a reputation for being dangerous, but modern emergency medicine has firmly established that a properly applied tourniquet saves lives and is safe to use for several hours. Every major trauma organization, including the American College of Surgeons and the U.S. military, endorses tourniquet use by civilians.
When to use a tourniquet:
- Bleeding from an arm or leg that direct pressure cannot control
- An amputated or partially amputated limb
- Multiple injured people and you cannot maintain direct pressure on everyone
- You need your hands free to perform other lifesaving tasks
How to apply it:
- Place the tourniquet 2 to 3 inches above the wound. If you can’t identify the exact wound location, place it as high on the limb as possible (high and tight). Never place a tourniquet over a joint.
- Pull the strap tight and secure it. The tourniquet should be snug against the skin before you begin tightening.
- Turn the windlass (twisting rod) until the bleeding stops. This is the part that hurts. Tighten until there is no more blood flowing from the wound. The injured person will feel significant pressure and pain, which is normal and expected.
- Lock the windlass in place. Clip or secure it so it cannot unwind.
- Note the time of application. Write the time on the tourniquet or on the person’s skin. Medical teams need to know how long the tourniquet has been on.
- Do not remove the tourniquet. Only trained medical professionals should remove a tourniquet. Removing it prematurely can cause the bleeding to restart or release dangerous toxins into the bloodstream.
Commercial tourniquets like the CAT (Combat Application Tourniquet) and SOF-T are designed for rapid, one-handed application and are included in most professional-grade bleeding control kits. Improvised tourniquets (belts, ropes, fabric strips) are far less effective and should only be used as a last resort when no commercial tourniquet is available.
When to Call 911
Call 911 immediately, before you begin any bleeding control. If you are alone, put your phone on speaker and begin treating the wound while you talk to the dispatcher. If other people are present, direct a specific person to call 911 while you focus on stopping the bleeding.
The dispatcher can also guide you through bleeding control steps in real time. They are trained to coach bystanders through emergency medical procedures, so don’t hesitate to ask for help if you’re unsure what to do.
Call 911 if the injured person:
- Has bleeding that won’t stop with direct pressure
- Has a deep wound, amputation, or crushed limb
- Is becoming confused, pale, or losing consciousness
- Has been stabbed, shot, or involved in a serious accident
Even if you successfully control the bleeding, the person still needs professional medical evaluation. Controlled bleeding can restart, and internal injuries may not be visible. Always have EMS respond and transport the patient to a hospital.
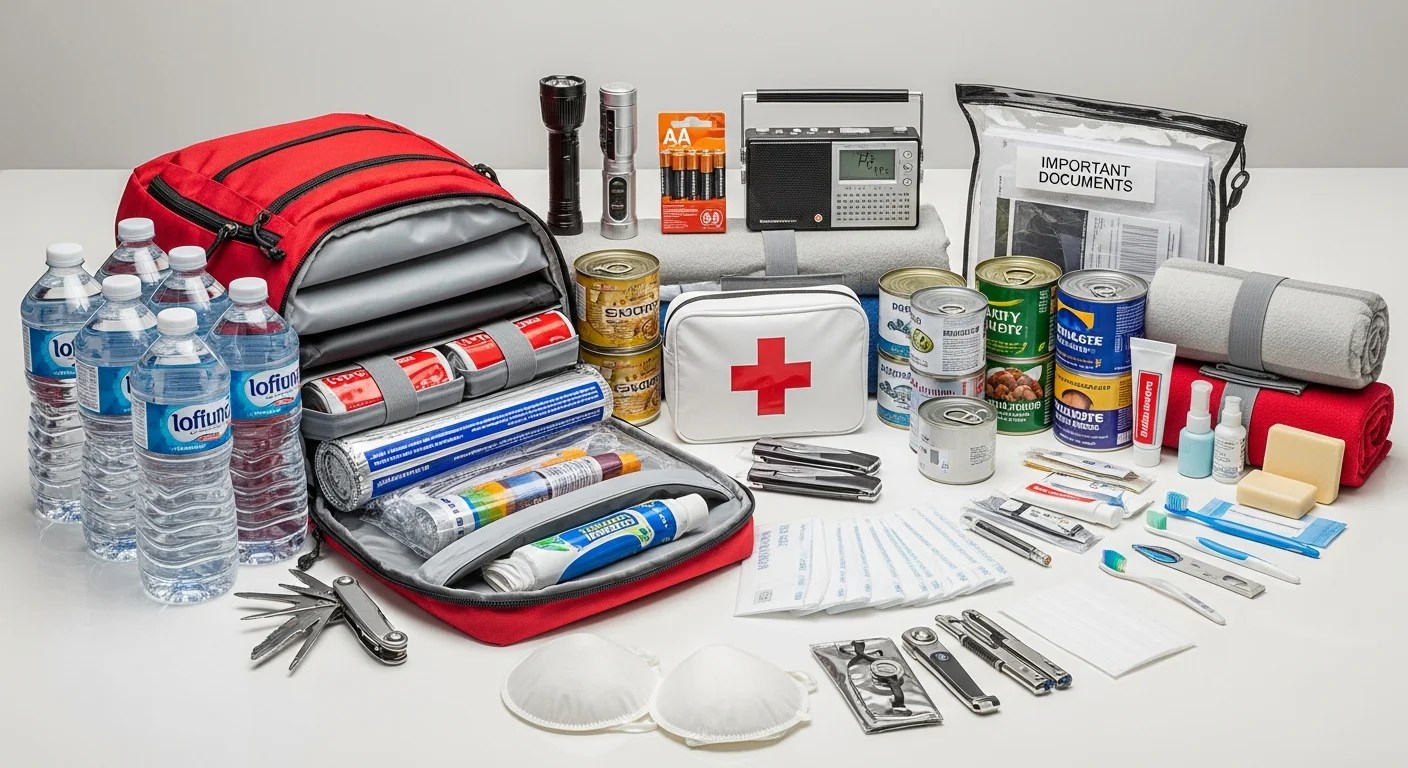
Build Your Emergency Preparedness Kit
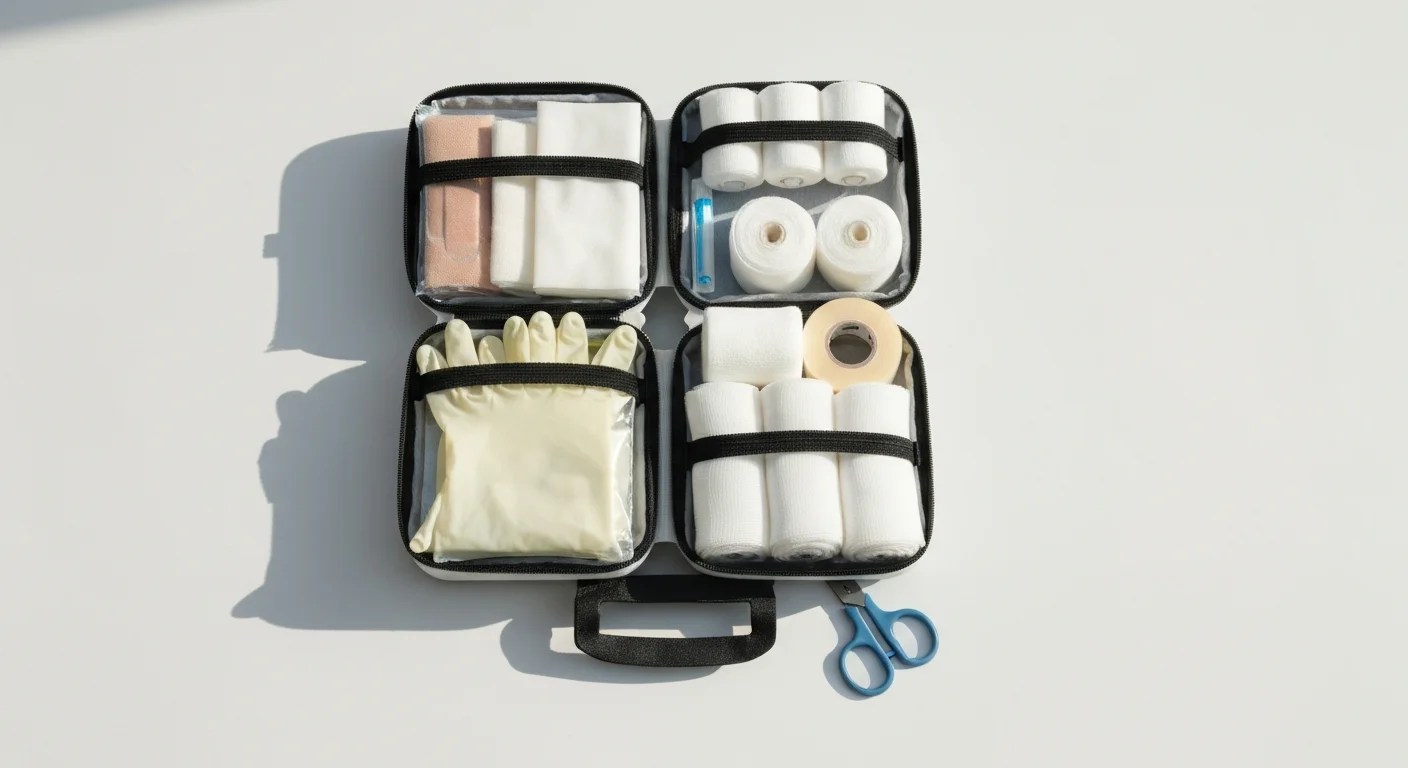
Knowing how to stop bleeding is only half the equation. Having the right supplies within reach is just as important. A dedicated bleeding control kit contains the specialized tools, including tourniquets, hemostatic gauze, compression bandages, gloves, and trauma shears, that make these techniques effective.
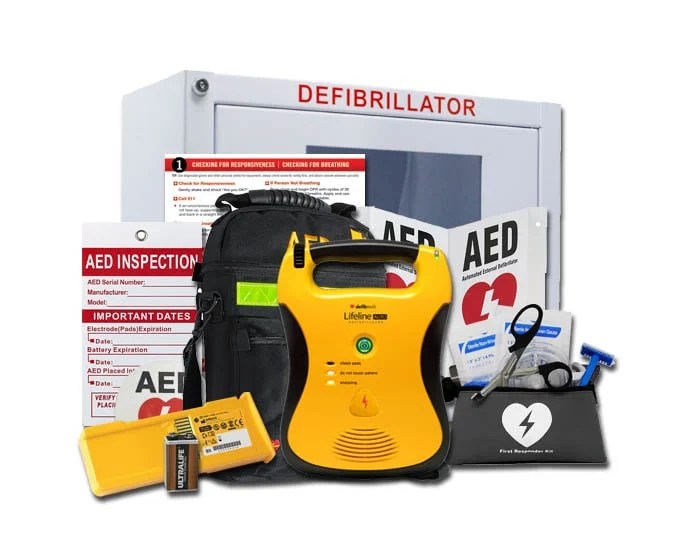
Response Ready carries both standard and premium bleeding control kits designed for homes, vehicles, schools, and workplaces. Pair a bleeding control kit with an AED and a first aid kit for a complete emergency preparedness setup that covers the most common life-threatening scenarios: severe bleeding, cardiac arrest, and general trauma.
Shop bleeding control kits at Response Ready and take the next step toward being prepared to save a life.
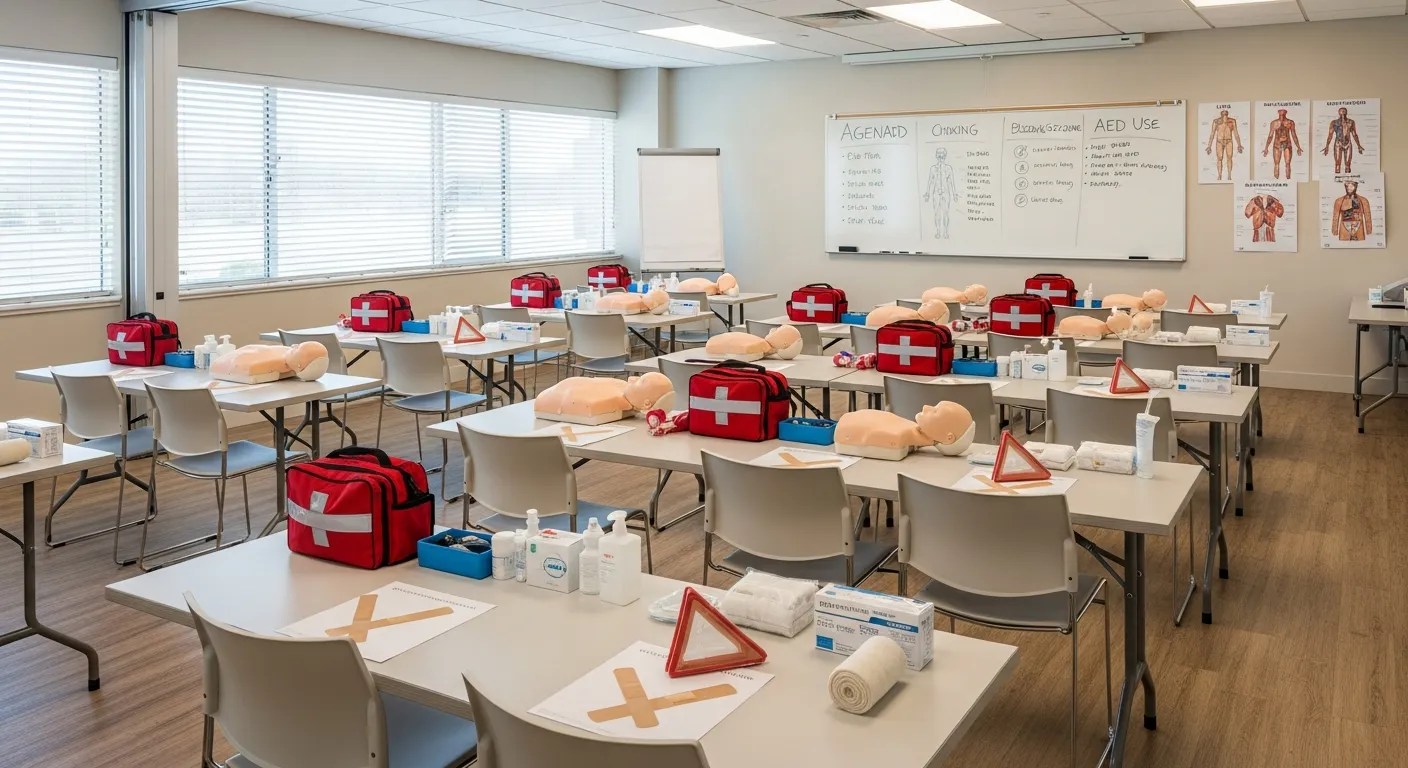
Get Trained: Stop the Bleed Certification
Reading about bleeding control is a strong first step, but hands-on training builds the muscle memory and confidence you need to act under pressure. The Stop the Bleed course is typically 60 to 90 minutes and covers everything in this guide with practice on training manikins and simulated wounds.
After completing the course, participants receive a Stop the Bleed certification, which validates that they can recognize life-threatening bleeding and perform the three core interventions: direct pressure, wound packing, and tourniquet application.
Response Ready offers Stop the Bleed training for individuals, businesses, schools, and organizations nationwide. Our instructor network includes certified professionals with real-world EMS and fire service experience. Whether you need training for your office, school, church, or community group, we can bring the course to you.
Organizations that purchase bleeding control kits from Response Ready can also bundle training for their staff, ensuring that the people who have access to the equipment know exactly how to use it when it matters most.
Frequently Asked Questions
How long does it take to bleed to death from a severe wound?
A person can bleed to death from a severe arterial wound in as little as two to three minutes. This is why immediate bystander action is so critical. Emergency medical services typically take 8 to 14 minutes to arrive, which means bystanders are the first and most important line of defense against fatal blood loss.
Can a tourniquet cause permanent damage?
Modern research shows that a properly applied tourniquet can be safely left in place for up to two hours with minimal risk of permanent damage. The risk of losing a limb from a tourniquet is extremely low compared to the risk of dying from uncontrolled bleeding. Every major trauma organization recommends tourniquet use by civilians for life-threatening limb bleeding.
What should I include in a home bleeding control kit?
A home bleeding control kit should include at minimum a commercial tourniquet (such as a CAT or SOF-T), hemostatic gauze, a compression bandage, nitrile gloves, and trauma shears. Response Ready’s Premium Bleeding Control Kit includes all of these items in a compact, clearly marked pouch that’s ready to grab in an emergency.
Is Stop the Bleed training free?
Many community-based Stop the Bleed courses are offered at low cost or no cost. Response Ready offers both public and private Stop the Bleed training sessions for groups of all sizes. Contact us for pricing and availability for your organization.
What is the difference between a bleeding control kit and a first aid kit?
A first aid kit handles minor injuries like small cuts, burns, and scrapes. A bleeding control kit is specifically designed for life-threatening hemorrhages and contains specialized tools like tourniquets and hemostatic gauze that are not found in standard first aid kits. Both are important, and ideally you should have both available.